
Correcting your vehicle’s paint is an important step in maintaining its appearance and value. Over time, your car’s paint can become dull, scratched, and discolored due to environmental factors, improper washing and drying techniques, and accidental damage. In this article, we’ll take a closer look at the steps involved in correcting your vehicle’s paint, and provide some tips to help you achieve a professional-looking finish.
Step 1: Wash and Dry Your Car Thoroughly
Before beginning the correction process, it’s important to wash and dry your car thoroughly. Use a high-quality car wash soap, and avoid using sponges or towels that can leave small scratches on the paint. Make sure to dry your car thoroughly, using a soft microfiber towel, to avoid water spots.
Step 2: Assess the Condition of Your Paint
The next step is to assess the condition of your paint. Look for areas of the paint that are dull, scratched, or discolored, and take note of the severity of the damage. This will help you determine which correction techniques and products you’ll need to use.
Step 3: Choose the Right Correction Products
There are a wide variety of correction products available, ranging from light polishes to heavy-duty compounds. When choosing your correction products, consider the type of damage you’re trying to repair, as well as the color and type of paint you’re working with.
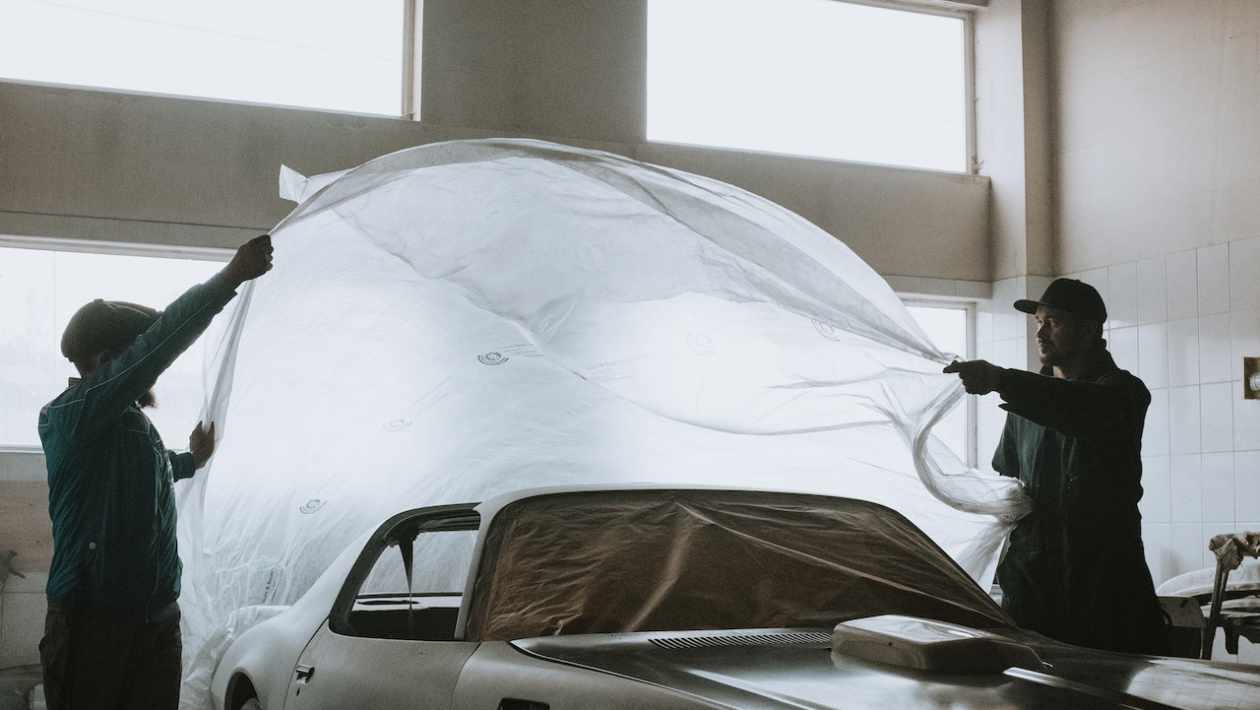
Step 4: Preparation
Before applying any correction products, make sure to protect surrounding areas of your car, such as the windows and plastic trim, by masking them off. You should also make sure to work in a well-ventilated area, as some correction products can emit strong fumes.
Step 5: Apply Correction Products
The next step is to apply your correction products, following the manufacturer’s instructions. You’ll typically need to work in small sections, using a dual action polisher or a foam pad, to apply the correction products evenly and remove any defects in the paint. Make sure to work slowly, and to keep the pad moving at all times to avoid over-heating the paint.
Step 6: Buff Out the Correction Products
Once you’ve applied the correction products, you’ll need to buff them out, using a soft microfiber towel. The goal is to remove any haze or residue left by the correction products, leaving a smooth and glossy finish.
Step 7: Apply a Wax or Sealant
Finally, after correcting your paint, it’s a good idea to apply a wax or sealant to help protect the paint and maintain its shine. Choose a high-quality wax or sealant that is compatible with your paint type, and follow the manufacturer’s instructions when applying.
Tips for Correcting Your Vehicle’s Paint
- Start with the mildest correction products and techniques, and gradually work your way up to the stronger ones if needed. This will help to minimize the risk of causing further damage to your paint.
- Work in small sections, making sure to keep the pad moving at all times to avoid over-heating the paint.
- Avoid using circular motions, as these can cause swirling and other defects in the paint. Instead, use back-and-forth or random motions to ensure a smooth and even finish.
- Use high-quality correction products and foam pads to avoid damaging the paint.
- Be patient, and take your time. Correcting your vehicle’s paint can be a time-consuming process, but taking your time and following these steps carefully will help you achieve a professional-looking finish.